Now process the image to ensure it is the right size for your website. Try and keep them all to 1200 pixels wide by 800 pixels high. The file size should be under 100k. These will keep the site looking nice and loading fast. Always start with an image larger than this size and scale it down.
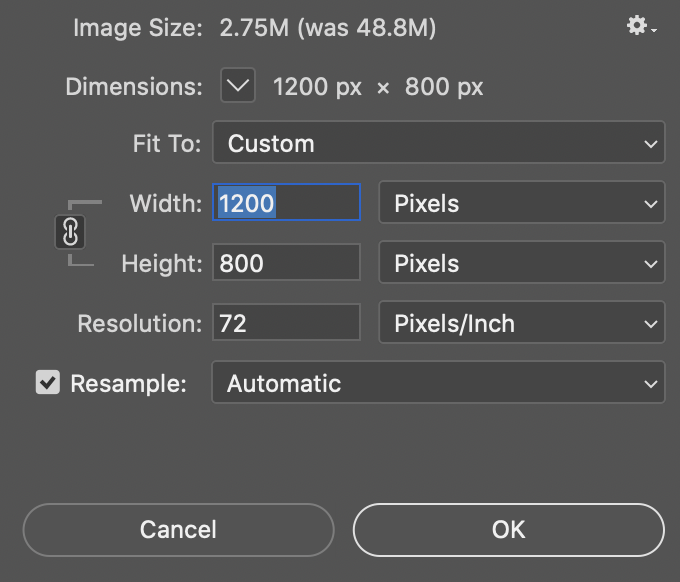
If you have Photoshop, open the image, set the image size to 1200 px by 800 px, 72 dpi, save as a JPG and move quality slider until the file size is under 100k. (See included screenshots.)
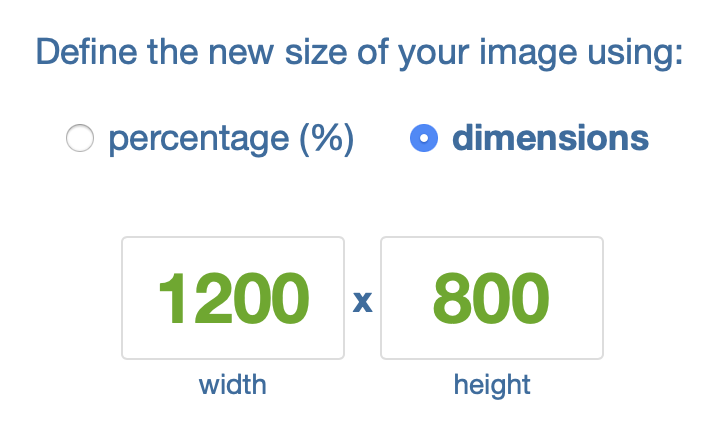
If you don’t have Photoshop, try this free online tool that will downsize the image. Choose Dimensions option and enter 1200 x 800. (White screenshot inlcuded.) http://www.simpleimageresizer.com
Upload
Log into your WordPress Dashboard by going to: https://your-domain-name.com/wp-admin (you may have a unique login url which will be provided to you) Enter the username and password.
Once you arrive at your Dashboard, bookmark that page and save your password so it’s easy to jump back in.
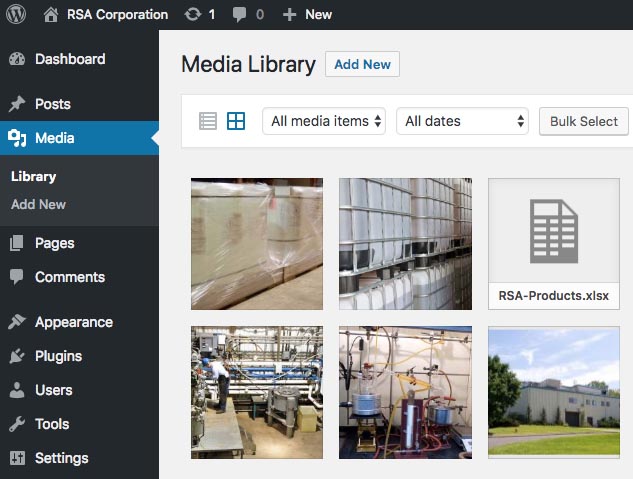
Then click on Media from the left hand menu. Locate your Media Library and drag in the new image you chose as your “featured image.”
Create POST
Now go to your Dashboard and click on Posts. At the top left, choose Add New. This will create a new temporary Post. Add a title for the post. Use upper and lower case with spaces as you normally would type something.
Now either type the text for your Post into the new Post section where it says “Start writing or type/to choose a block.” or paste from another program such as Microsoft Word. Add any formatting such as Bolds, Italics and Links.
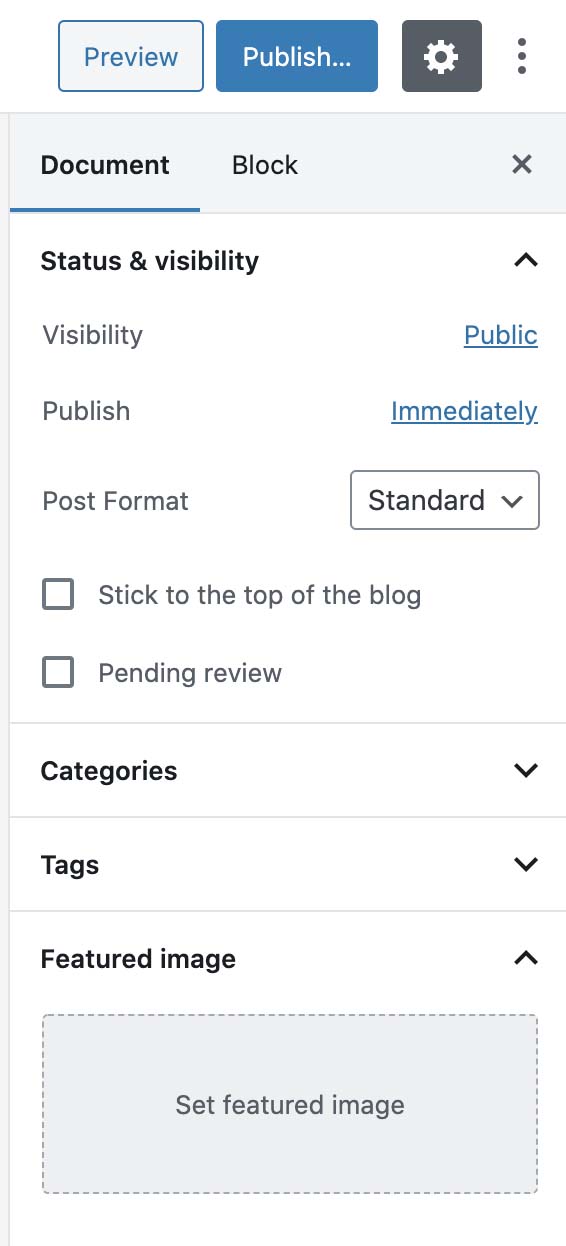
Now in the right sidebar menu, click the box that says Set Featured Image. Click the tab called Media Library if it is not automatically selected. Now choose the image you just uploaded which should be located at the top left. Click the blue button at bottom right called Set Featured Image.
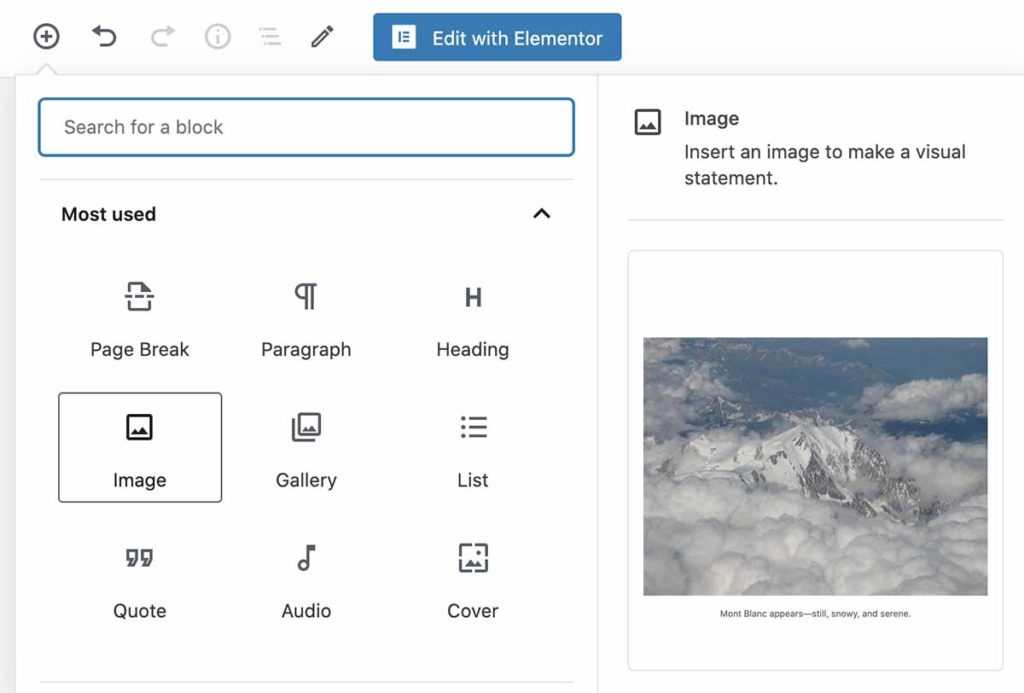
If you would like to add images INSIDE your Post, click the little + icon inside the circle at the top left of the Post page. This brings up a menu of options you can include in your Post.
One last step….. Click the blue Publish button at the top right of the screen. Then click it AGAIN to confirm. Your new Post is now LIVE!
If we have created a section on your homepage that contains other Posts, the new Post will be automatically added to this section. If we have already created a News page, this Post will also be added there.
Good luck!
Never worry if you get stuck! Just call me and I’ll walk you through it:) Like with any new skill, the more you do this, the easier it will become.