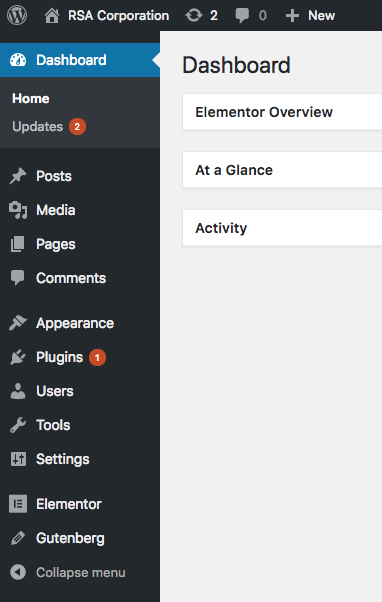
Log into your WordPress Dashboard by going to: https://yoursite.com/wp-admin (you may have a unique login url which will be provided to you) Enter the username and password.
Once you arrive at your Dashboard, bookmark that page and save your password so it’s easy to jump back in.
Then click on Pages and select the page you want to edit. Or choose Posts if you want to edit a Blog.
Edit with Elementor
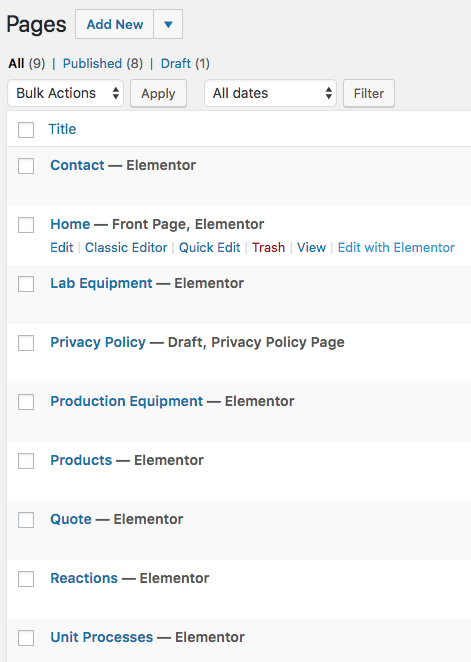
You should now see a list of all the pages in your website.
Hover over the page you want to edit and choose “Edit with Elementor.”
This will open that page in the Elementor page builder environment.
Editing text
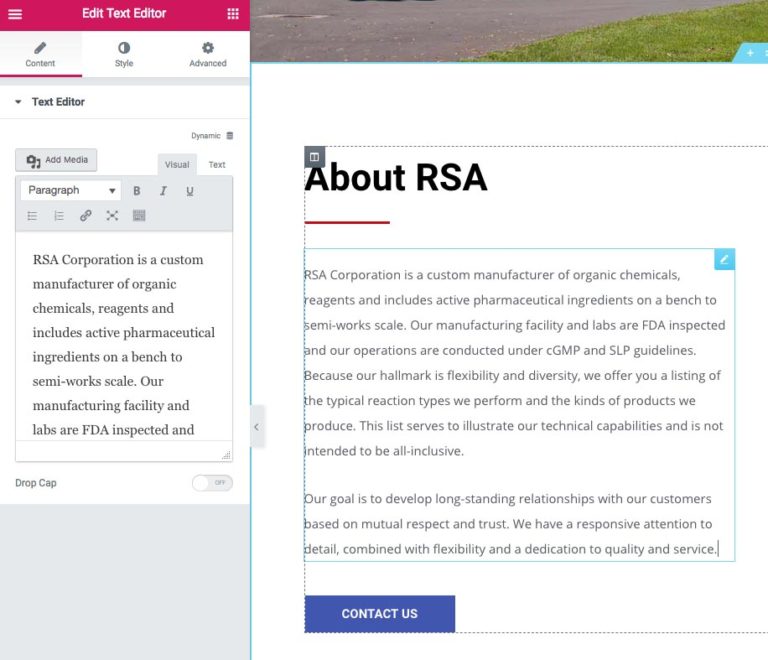
Click inside any text area to select it. Then either type inside the viewing window or inside the Elementor Text Editor for more tool options.
You can copy and paste text from other sources, like Microsoft Word.
When pasting text, it is very important to choose Paste and Match Style from your browser’s Edit menu. Otherwise the text will have additional styles that are difficult to undo.
Changing images
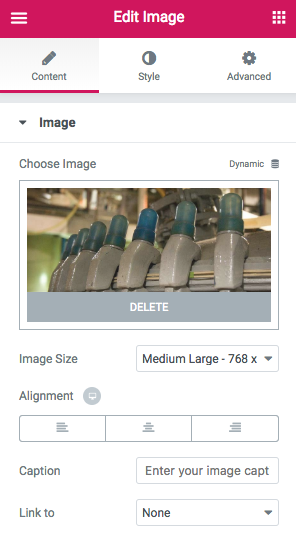
To change an image, simply click on it. Then in the left side Elementor editor, click the image thumbnail to delete it.
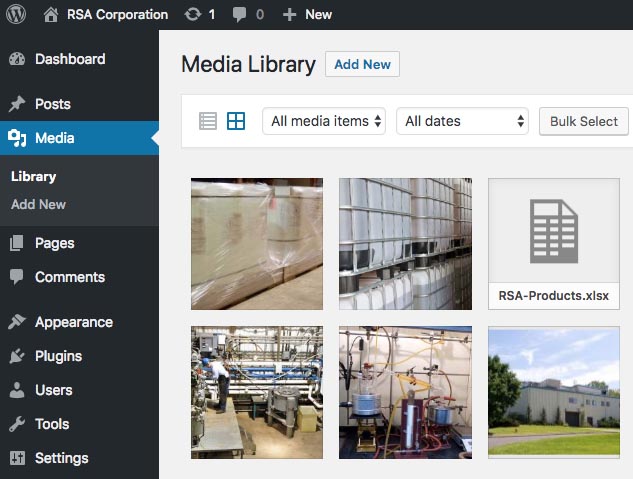
You’ll automatically be sent to the Media Library where you can select another image.
To return to the Dashboard, click the top left hamburger icon (3 stacked white lines).
Here are some tips for image sizing…
If you have Photoshop, great! If not, you can try this Online Image Resizer site. https://resizeimage.net
For full width hero images, I use 1920 pixels wide by 800 pixels high. I try to keep the file size to under 100k so it doesn’t slow the page down too much. 72 dpi (dots per inch) resolution.
For images that take up the full space of the container, but not full width, I use 1200 pixels wide by 800 pixels high. If you have an image gallery, this is a good size for landscape images. For portrait style images, try to keep the height to 800 pixels.
For images that take up half the page, I use 768pixels wide by 512 pixels high, 72 dpi. Try and keep the file size as low as possible without degrading the image quality too much. Also use this size for the Featured Images in your Posts or blogs.
If you’re using a 3 or 4 column section, I would use an image set to 400 pixels wide by 267 pixels high, 72 dpi.
After placing the new image, be sure to choose the proper size from the pulldown menu under the image in the Elementor toolbar.
Add a section
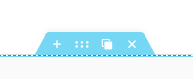
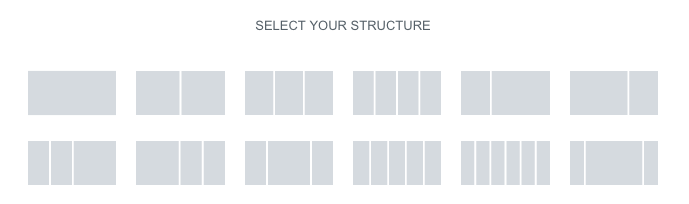
To add a new section to a page, click the plus (+) sign in any section. Then choose from the many different configurations.
Using this toolbar you can also duplicate, move, or delete a section.
Add a new image
To add a new image to your website, you must first upload it to your Media Library by clicking the Add New button, or simply dragging the new image into the Media Library window.
Update
After each edit, be sure to click the green Update button at the bottom left of the screen.
Jump to another page
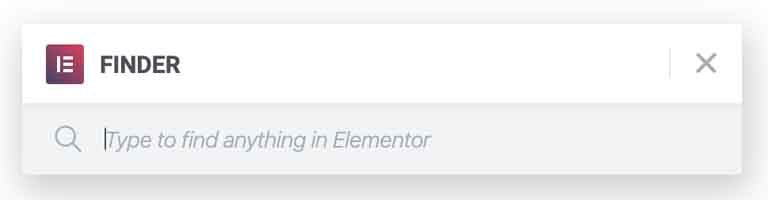
If you have a page or a template open in Elementor, you can quickly jump to another page, post or template using a shortcut to open the Elementor Finder window.
command E – mac control E – pc
Just type the first few letters of the page you would like to jump to.
Adding a new PAGE
Before you can add a new item to the navigation bar, you must first create a new page.
To create a NEW page, go to Dashboard > Pages > Add New.
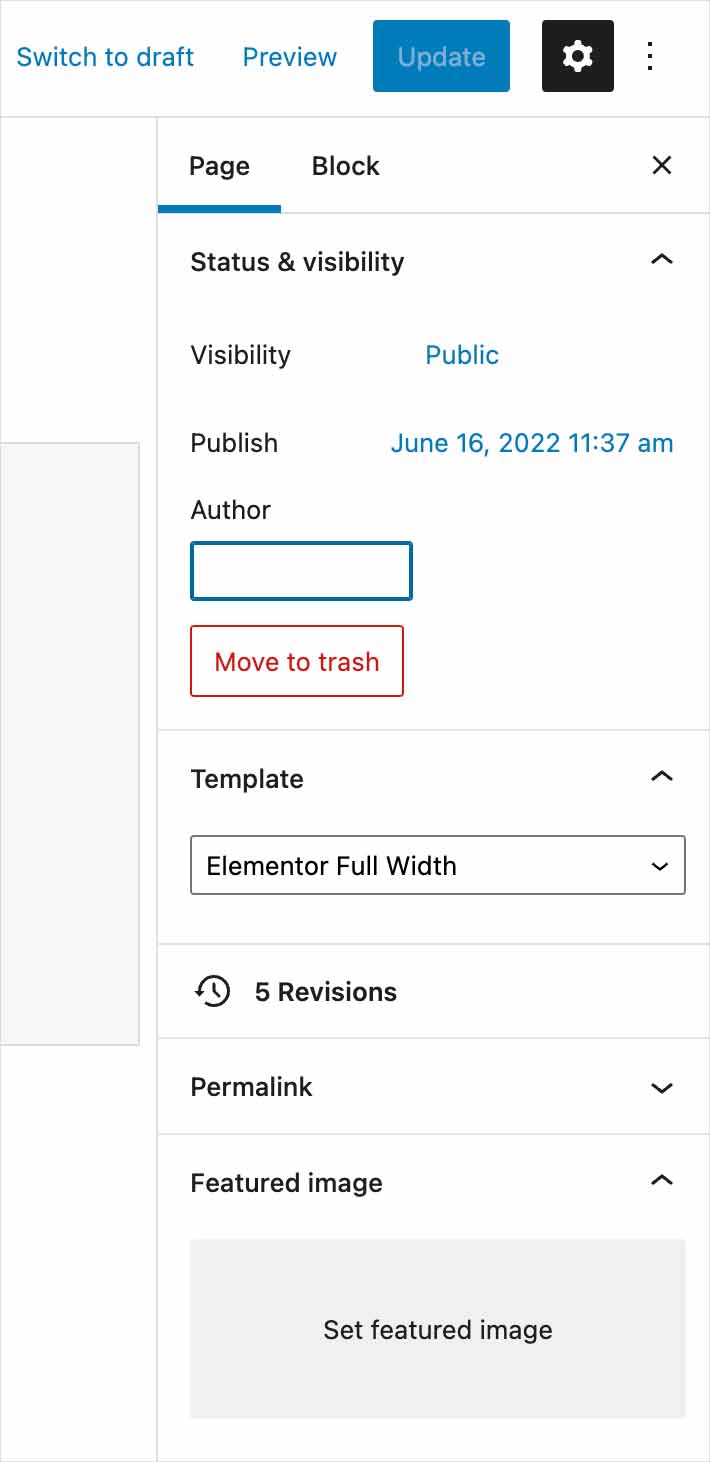
In the Add Title field, name the page, such as, Biography. Then choose Elementor Full Width in the right hand sidebar as shown in the image here.
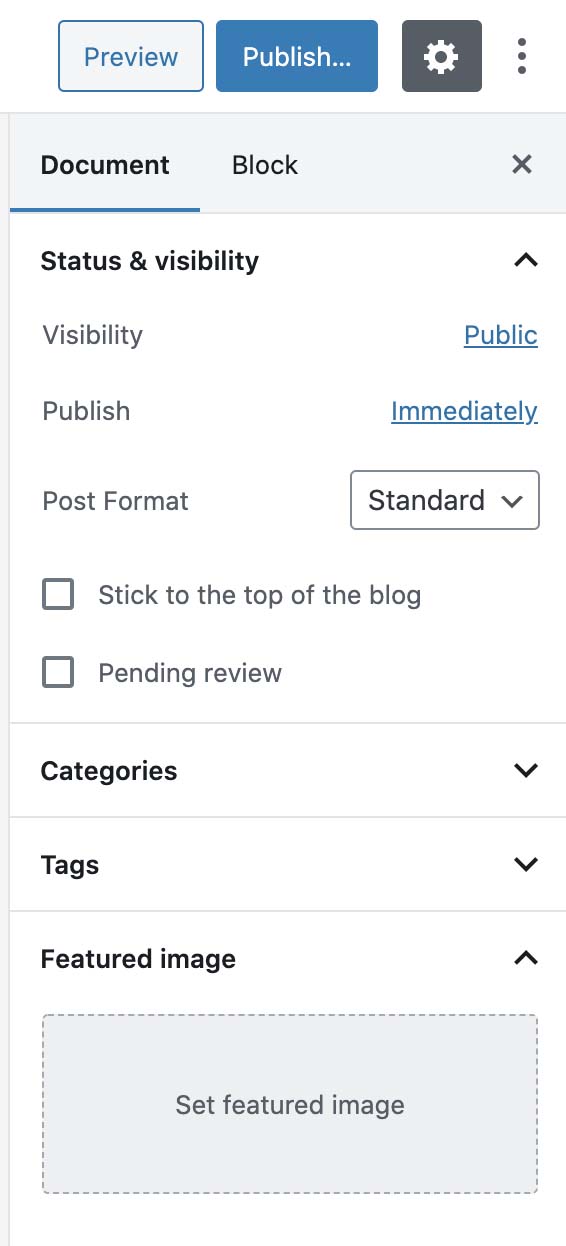
When making a new POST or Blog, simply type your Heading and add your text. In the right sidebar, click Set Featured Image and add your image. Leave the other settings as they are.
For Featured Image, use the image size 1200 pixels wide by 800 pixels high. 72 dpi. Try to get the file size around 100k or less.
Adding a new POST
To create a new Post (blog or news item), it’s usually easier to type out your text in Microsoft Word first, or your favorite text editor. Also find the image you’d like to include as the Featured Image for your Post. Save this image to the following dimensions…
1200 pixels wide, 900 pixels high. Try to get the file size to around 100k or less. Click the Media tab from the Dashboard, and upload your new image.
Now go your Dashboard and click on Posts. At the top left, choose Add New. This will create a new temporary Post. Add a title for the post. Use upper and lower case with spaces as you normally would type something.
Then in the right sidebar menu, click the box that says Set Featured Image. Click the tab called Media Library if it is not automatically selected. Now choose the image you just uploaded which should be located at the top left. Click the blue button at bottom right called Set Featured Image.
Now it’s time to copy the text from your Word document or text editor, and PASTE it into the new Post section where it says “Start writing or type/to choose a block.”
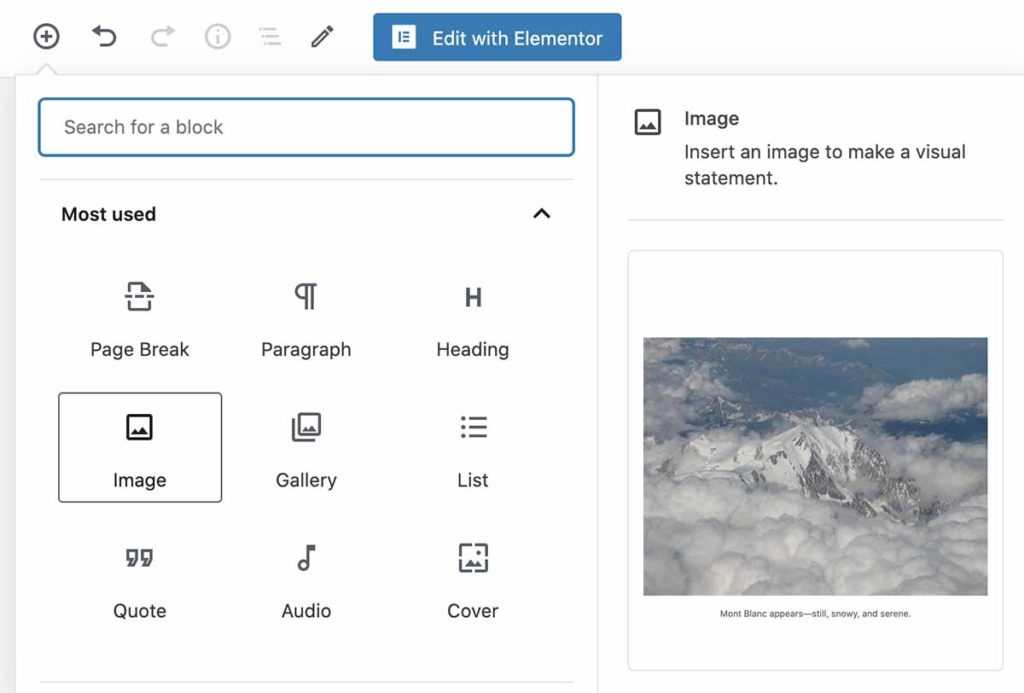
If you would like to add images INSIDE your Post, click the little + icon inside the circle at the top left of the Post page. This brings up a menu of options you can include in your Post.
One last step….. Click the blue Publish button at the top right of the screen. Then click it AGAIN to confirm.
Your new Post is now LIVE!
Changing the nav menu
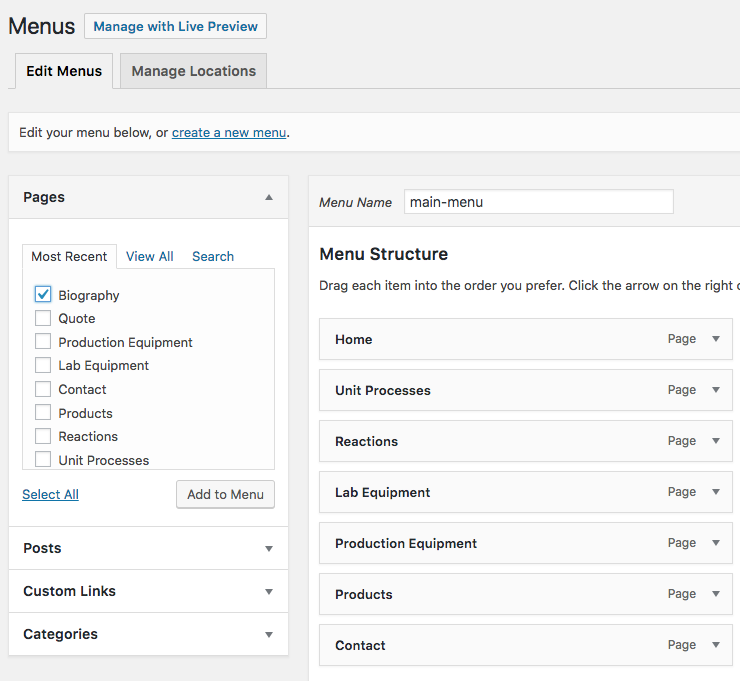
To add the new page to the navigation menu, from your Dashboard choose: Appearance > Menus
Put a check next to the new page on the left side and click the Add to Menu button.
Once the new item is added to the list on the right, you can drag it to the desired location.
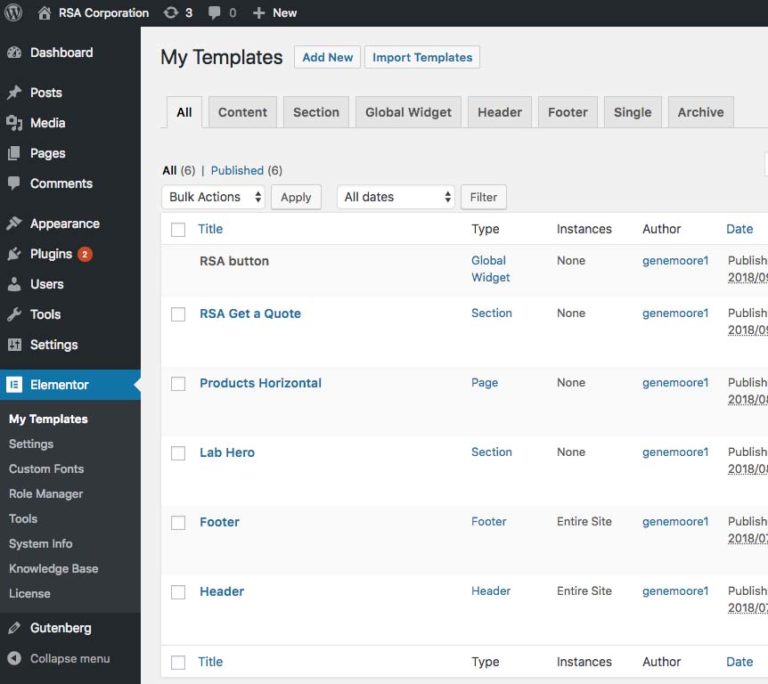
Editing Header and Footer
There are now 2 ways to style the Header and Footer of your website. From your Dashboard go to: Elementor >Templates. Then click the Published link. Hover over Header or Footer and choose Edit with Elementor.
The newest method is to simply click the Edit tab in the Header of any page you are editing. To return to Page editing, simply click that tab. Please note the Page tab will be located just beneath the header.
Here is where you can choose images, colors, fonts and make changes to text.
Please be aware that any changes made to the Header or Footer will appear on every page of your site, unless you have multiple headers with different “conditions” assigned.
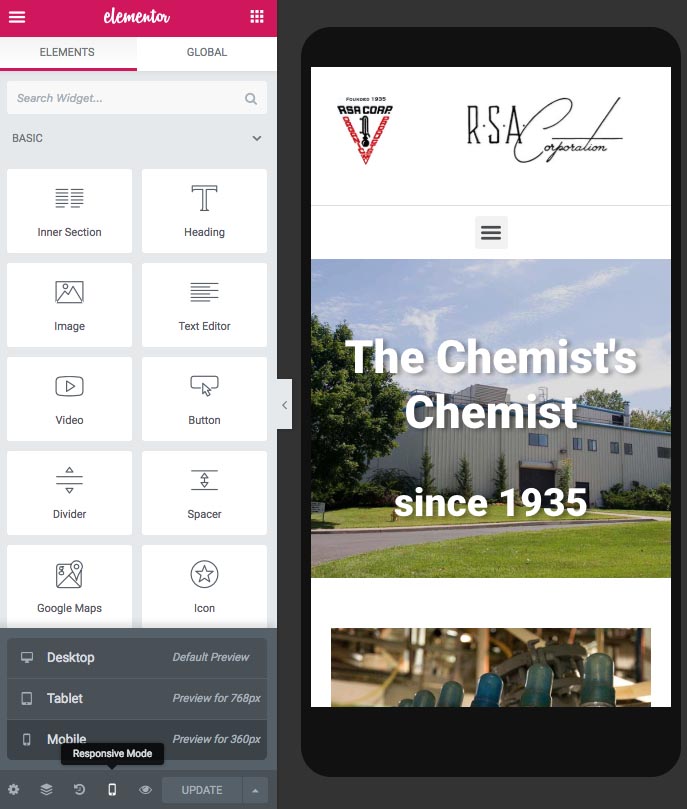
Responsive modes
You can view your website in 3 different views: Desktop, Tablet and Mobile.
To change views, click on the Responsive Mode icon at bottom left of the Elementor toolbar.
Then choose one of the sizing options.
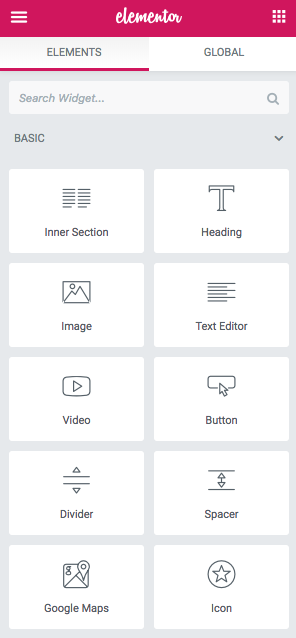
Tools
To add additional items to your website page, drag one of the many tools from the Elementor Toolbar. You can drag tools into existing Sections, or by creating a new Section.
Video training
There are many tutorial videos for Elementor Pro on YouTube. I have found the most useful info from WPTuts.
We understand learning new software can be challenging and frustrating. If you run into any issues, I encourage you to first search YouTube for a solution, as there are so many great tutorial videos there already for just about every technical issue you’ll encounter.
But please know, that I’m always just a phone call away, if you run into anything that you can’t solve yourself. Congratulations on your new website, and thank you for your business!